Clip-Bait: Trae Young’s Three-Point Barage
Atlanta Hawks rookie Trae Young came into the league backed by the sweet shooting and unlimited range he put on display in his breakout freshman campaign with the Oklahoma Sooners.
It became commonplace when March rolled around to expect Young to easily flick shots three to eight feet beyond the NCAA three-point line without a second thought. Young’s ability to draw defenders so far away from the hoop allowed him to get to the lane–and to the foul line occasionally–and show off his playmaking abilities thanks to the extra space.
Before his rookie year even started, the 20-year-old was drawing comparisons to Golden State Warriors’ superstar, Stephen Curry. However, thanks to a draught in November (shot 19.8 percent from three on 86 total attempts), those comparisons did not immediately come to fruition for Young and the Hawks.
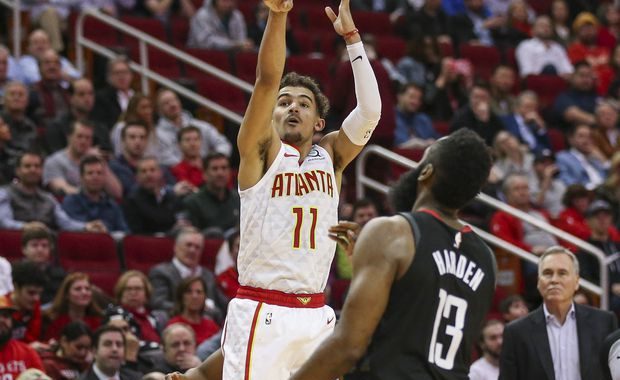
Yet, over the last 35 games Young has been scorching from deep–43.9 percent on 82 attempts in the month of February–culminating in Monday night’s game against the Houston Rockets where he connected on a career-high eight triples.
As the Clip-Bait series is intended to take a deeper dive into the action we see on the floor, Young’s performance against Houston is a prime candidate for a breakdown. More so than Young just making shots than he previously missed there were many shifts and adjustments from both Young and Hawks’ head coach, Lloyd Pierce, that helped Young bomb away from deep.
In the video below, you’ll see clips of all eight made three-pointers from Young as well as a quick blurb on the details behind the scenes that led to the final result of a made shot.
(NOTE: If you have issues reading the text on the video I have written them out in full again under here)
CLIP 1: “Young sets a screen for Bazemore as a decoy before sprinting a screen from Collins for an open look from the top of the key.”
CLIP 2: “Hawks get caught late in the shot clock, but Young bails them out with a pull-up three.”
CLIP 3: “Operating off-the-ball with backup PG Jaylen Adams in, Young rejects an initial screen from Collins which then becomes a high PNR on the sideline. With HOU switching everything, Gerald Green’s indecisiveness gives Young space & opportunity for a stepback 3.”
CLIP 4: “Pierce adjusted to HOU switching screens by using the double drag set in hopes of causing confusion by making the Rockets perform multiple switches. Here, Young gets an open look as Faried drops back without committing to the switch after Dedmon sets the second screen.”
CLIP 5: In secondary transition, Young gets a ball screen from Dedmon & Capela stays too far back & Young rises right over top.”
CLIP 6: Atlanta starts in what looks like another double drag, but instead of setting a screen he steps out to initiate a give-and-go. Young gets the quick pass and immediately uses Spellman as a screen. Neither Shumpert or Tucker steps up and Young buries another deep triple.”
CLIP 7: “Young gets the ball off a Spellman outlet, no HOU player meets him before he has ample time to dribble into a pull-up jumper in transition.”
CLIP 8: “Another double-drag looks that morphs into a give-and-go followed by a side PNR. HOU changes its defense and has Tucker switch on the Spellman pass & Tucker does well to fight over top Dedmon’s screen. Undeterred, Young uses Tucker’s aggressiveness against him and calmly sinks a three-pointer off the pullback dribble.”